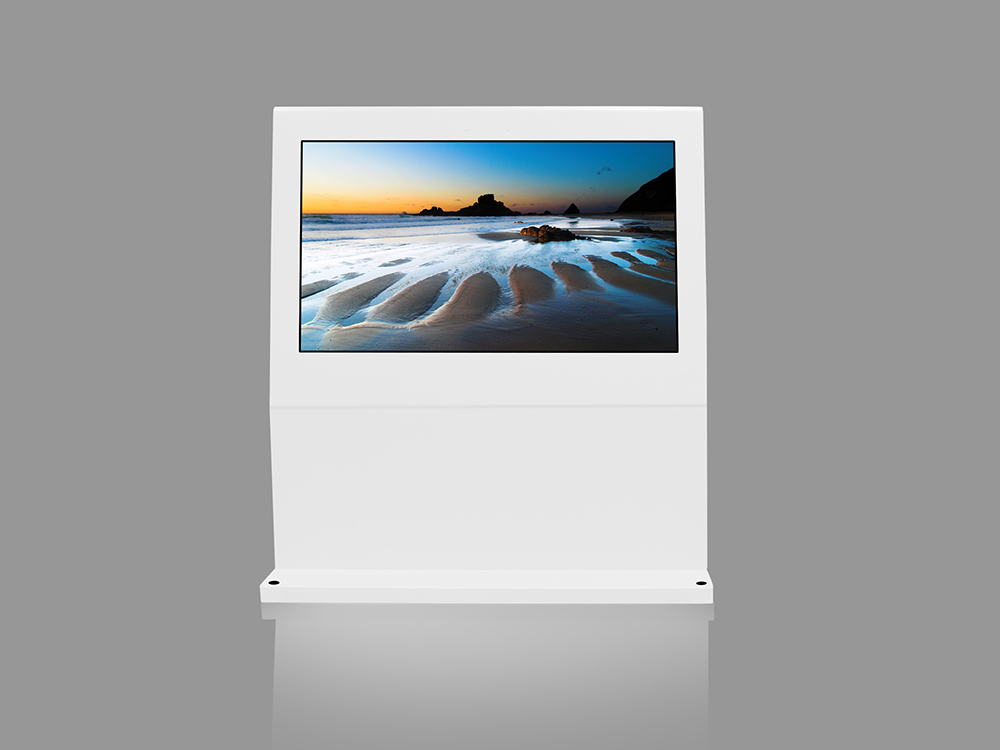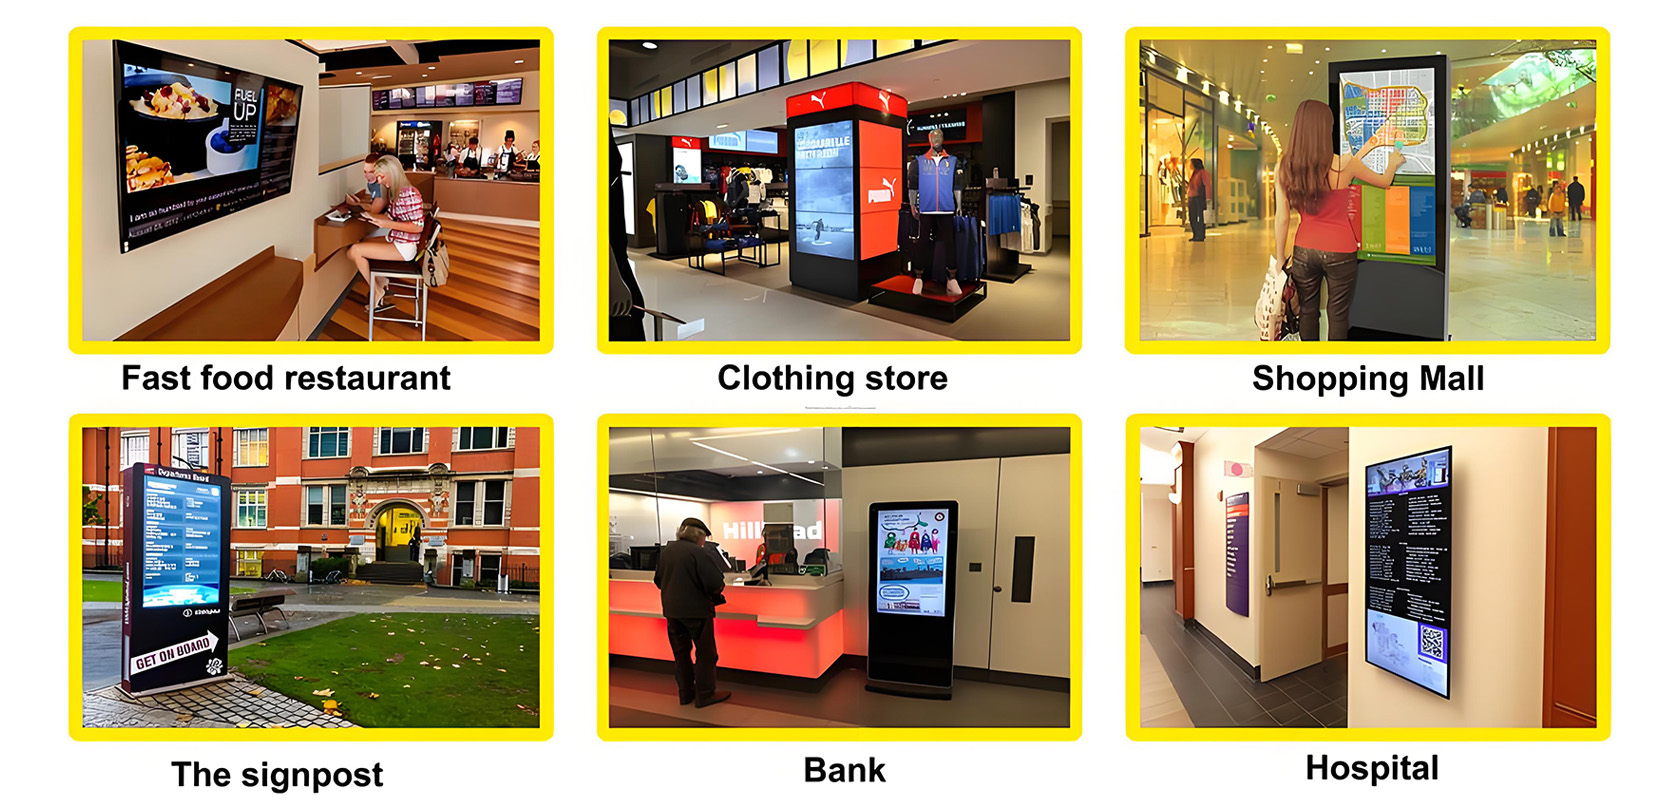
How to Install Digital Signage in Your Business.Digital signage has revolutionized the way businesses communicate with their audiences. From displaying dynamic advertisements to providing crucial information, digital signs have become indispensable tools for various industries. If you're considering installing digital signage in your business, this comprehensive guide will walk you through the process, ensuring a smooth and successful setup.

Step 1: Define Your Objectives
Before diving into the technical aspects, it's crucial to outline what you aim to achieve with digital signage. Ask yourself the following questions:
What is the primary purpose of the digital signage? (e.g., advertising, customer engagement, information dissemination)
Where will the signs be located? (Indoors, outdoors, or both?)
Who is your target audience?
What kind of content will you display? (Static images, videos, interactive content, etc.)
What is your budget?
Having clear objectives will guide your decisions throughout the installation process and help you tailor the solution to your specific needs.
Step 2: Choose the Right Hardware
Selecting the appropriate hardware is critical to the success of your digital signage. Here are the key components to consider:
1. Display Screens
LCD vs. LED: LCD screens are cost-effective and suitable for indoor use, while LED screens are brighter and more durable, making them ideal for outdoor environments.
Size and Resolution: Choose a screen size and resolution that fits your space and content requirements. For instance, a large, high-definition screen would be suitable for a lobby, while a smaller screen might suffice for a point-of-sale display.
Touchscreen Capability: If you plan to use interactive content, opt for touchscreen displays.
2. Media Players
Media players are devices that store and play your digital signage content. Options include:
Standalone Media Players: These are dedicated devices that connect directly to your display. They're easy to use and require minimal maintenance.
Computers (PCs or Laptops): Offer more flexibility and can be used for more complex setups, such as interactive displays or systems requiring frequent content updates.
Smart Displays: Some modern displays come with built-in media players, simplifying the setup process.
3. Mounts and Accessories
Wall Mounts, Floor Stands, or Ceiling Mounts: Choose based on your space and viewing angles.
Cables and Connectors: Ensure you have the necessary cables (HDMI, USB, Ethernet) and connectors to link your media player to the display.
Power Supplies: Make sure your electrical infrastructure can support the new devices, and consider backup power solutions to avoid disruptions.
Step 3: Select the Software
Digital signage software manages and displays your content. It can be broadly categorized into:
1. Content Management Systems (CMS)
A CMS allows you to create, schedule, and manage content across multiple displays. Look for a system that offers:
User-Friendly Interface: Easy to navigate and use.
Template Libraries: Pre-designed templates to simplify content creation.
Real-Time Updates: Ability to change content remotely and instantly.
Analytics: Insights into how your audience interacts with the content.
2. Digital Signage Apps
For businesses with limited needs, apps can be a cost-effective alternative to full-fledged CMS. They often come with pre-set templates and straightforward functionality.
Step 4: Create and Optimize Your Content
With your hardware and software in place, it's time to focus on content creation. Here are some best practices:
Keep It Simple: Avoid overwhelming your audience with too much information. Focus on key messages.
Use High-Quality Visuals: High-resolution images and videos ensure your content looks professional and engaging.
Incorporate Movement: Animations and video loops can attract more attention than static images.
Brand Consistency: Ensure your content aligns with your brand's visual identity.
Call to Action (CTA): If applicable, include clear and compelling CTAs to encourage engagement.
Step 5: Install the Hardware
Now it's time to physically install your digital signage. Follow these steps:
Choose the Location: Ensure the display is visible to your target audience and consider lighting conditions.
Mount the Display: Follow the manufacturer's instructions for mounting the screen securely.
Connect the Cables: Link the media player to the display using the appropriate cables. Make sure all connections are secure.
Power Up: Connect the devices to a power source and turn them on to ensure everything is working correctly.
Step 6: Set Up the Software
With the hardware installed, proceed with the software setup:
Install the CMS or App: Follow the installation instructions provided by the software vendor.
Configure the Settings: Input your network settings, time zones, and any other required configurations.
Upload Content: Add your prepared content to the CMS. Make use of templates and scheduling features to organize your displays.
Test the Display: Preview your content to ensure it appears correctly on the screen.
Step 7: Network and Security Considerations
If your digital signage system will be connected to the internet or a company network, take the following security measures:
Use Strong Passwords: Protect your CMS and any connected devices with strong, unique passwords.
Regular Updates: Keep your software and firmware up to date to mitigate vulnerabilities.
Network Segmentation: If possible, isolate your digital signage network from your primary business network to minimize risk.
Content Security: Ensure that your content is stored securely and backed up regularly.
Step 8: Monitor and Maintain
The installation doesn't end once your signs are up and running. Regular monitoring and maintenance are essential for long-term success:
Content Updates: Keep your content fresh and relevant by updating it regularly.
Performance Monitoring: Use analytics tools to track how your audience interacts with the signs.
Technical Checks: Periodically check the hardware for any issues, such as loose connections or hardware failures.
Cleaning: Keep the screens clean and dust-free to ensure optimal visibility.
Step 9: Train Your Staff
Ensure that your staff understands how to use the digital signage system, including:
Basic Troubleshooting: Train them to resolve common issues, such as restarting the media player or checking cable connections.
Content Management: If applicable, teach them how to update content using the CMS.
Emergency Procedures: Establish protocols for what to do in case of a system failure or other emergencies.
Step 10: Evaluate and Adapt
Finally, continually evaluate the effectiveness of your digital signage. Consider conducting surveys or gathering feedback from your audience to understand what works and what doesn't. Use this information to refine your content strategy and improve your system over time.
Conclusion
Installing digital signage in your business is a multifaceted process that involves careful planning, hardware and software selection, content creation, and ongoing maintenance. By following this comprehensive guide, you can ensure a successful implementation that enhances your business communication, engages your audience, and provides a valuable return on investment. Whether you're looking to promote products, share information, or enhance customer experience, digital signage can be a powerful tool in your business arsenal.
Current article link: https://www.lcdkiosk.com/news/279.html

Tel
