Digital Signage Installation Process Explained
Digital signage has become an integral part of modern communication strategies, offering businesses and organizations a dynamic way to display information, advertisements, and announcements. From retail stores to corporate offices, educational institutions to healthcare facilities, digital signage can be seen everywhere, captivating audiences with its vibrant visuals and real-time updates. However, the process of installing digital signage is often overlooked, yet it is crucial for ensuring that these displays function optimally and deliver their intended message effectively. In this article, we will delve into the digital signage installation process, breaking it down into manageable steps to provide a comprehensive understanding.

1. Planning and Assessment
The first step in the digital signage installation process is planning and assessment. This phase involves understanding the objectives of the digital signage, identifying the target audience, and determining the best location for the displays. It is essential to consider factors such as viewing distance, lighting conditions, and the overall aesthetic of the environment where the signage will be installed.
During the assessment, a site survey is conducted to evaluate the physical space and infrastructure. This includes checking the electrical outlets, internet connectivity, and mounting options. It is also important to assess any potential obstacles, such as structural columns or windows, that may affect the visibility or placement of the digital signage.
Once the assessment is complete, a detailed plan is developed. This plan outlines the number and type of displays needed, the content management system (CMS) to be used, and the installation timeline. It also includes a budget estimate, taking into account the cost of the hardware, software, installation labor, and any ongoing maintenance expenses.
2. Selecting the Right Hardware
Choosing the right hardware is critical to the success of any digital signage installation. There are several components to consider, including the display screens, media players, and mounting solutions.
Display screens come in various sizes, resolutions, and technologies, such as LCD, LED, and OLED. The choice of screen depends on the intended use, viewing distance, and budget. For example, a high-brightness LED screen may be suitable for outdoor applications where it needs to compete with ambient light, while an LCD screen with a narrow bezel may be preferred for indoor environments where a sleek and seamless appearance is desired.
Media players are the backbone of digital signage systems, responsible for storing and playing back content. They can be dedicated devices or software applications running on a computer or mobile device. When selecting a media player, factors such as processing power, storage capacity, and compatibility with the chosen CMS should be considered.
Mounting solutions are also important, as they determine how the displays will be installed. Wall mounts, ceiling mounts, and freestanding kiosks are some of the options available. The choice of mounting solution depends on the location and layout of the space, as well as any safety and accessibility requirements.
3. Content Creation and Management
With the hardware in place, the next step is to create and manage the content that will be displayed on the digital signage. This involves designing visually appealing graphics, videos, and animations that effectively communicate the intended message.
Content creation can be done in-house using design software or outsourced to a professional agency. It is important to ensure that the content is optimized for the specific display size and resolution, and that it adheres to any branding guidelines or regulatory requirements.
Once the content is created, it needs to be managed and updated regularly. This is where a content management system (CMS) comes in. A CMS allows users to schedule and distribute content to multiple displays, monitor their performance, and make real-time updates as needed. It also provides analytics and reporting tools to measure the effectiveness of the digital signage and make data-driven decisions.
4. Installation and Configuration
With the planning, hardware selection, and content creation complete, it is time to install and configure the digital signage system. This process typically involves several steps:
Mounting the Displays: The displays are mounted on the pre-determined locations using the chosen mounting solutions. Care is taken to ensure that the displays are level, securely fastened, and positioned for optimal viewing.
Connecting the Hardware: The media players are connected to the displays using HDMI, DVI, or DisplayPort cables. If the media players require an internet connection, Ethernet cables or Wi-Fi adapters are also installed.
Configuring the Software: The CMS software is installed on a central server or cloud-based platform. The media players are then configured to connect to the CMS and download the content. Any necessary settings, such as display brightness, scheduling, and playback options, are also configured at this stage.
Testing and Commissioning: Once the installation and configuration are complete, the digital signage system is tested to ensure that it is functioning correctly. This includes checking the display quality, audio (if applicable), and content playback. Any issues or defects are identified and rectified before the system is commissioned for use.
5. Maintenance and Support
The final step in the digital signage installation process is maintenance and support. Regular maintenance is essential to ensure that the displays remain in good working condition and continue to deliver their intended message effectively.
Maintenance tasks may include cleaning the displays, checking the cables and connections, updating the software and firmware, and replacing any faulty components. It is also important to monitor the performance of the digital signage system and address any issues promptly to minimize downtime.
In addition to maintenance, ongoing support is also required. This may involve providing training to users on how to use the CMS, troubleshooting technical problems, and offering advice on content creation and management. A reliable support team can help to ensure that the digital signage system operates smoothly and continues to meet the evolving needs of the business or organization.
In conclusion, the digital signage installation process involves several steps, from planning and assessment to hardware selection, content creation and management, installation and configuration, and maintenance and support. Each step is crucial to the success of the digital signage system and requires careful consideration and attention to detail. By following these steps and working with experienced professionals, businesses and organizations can harness the power of digital signage to engage their audiences and communicate their message effectively.
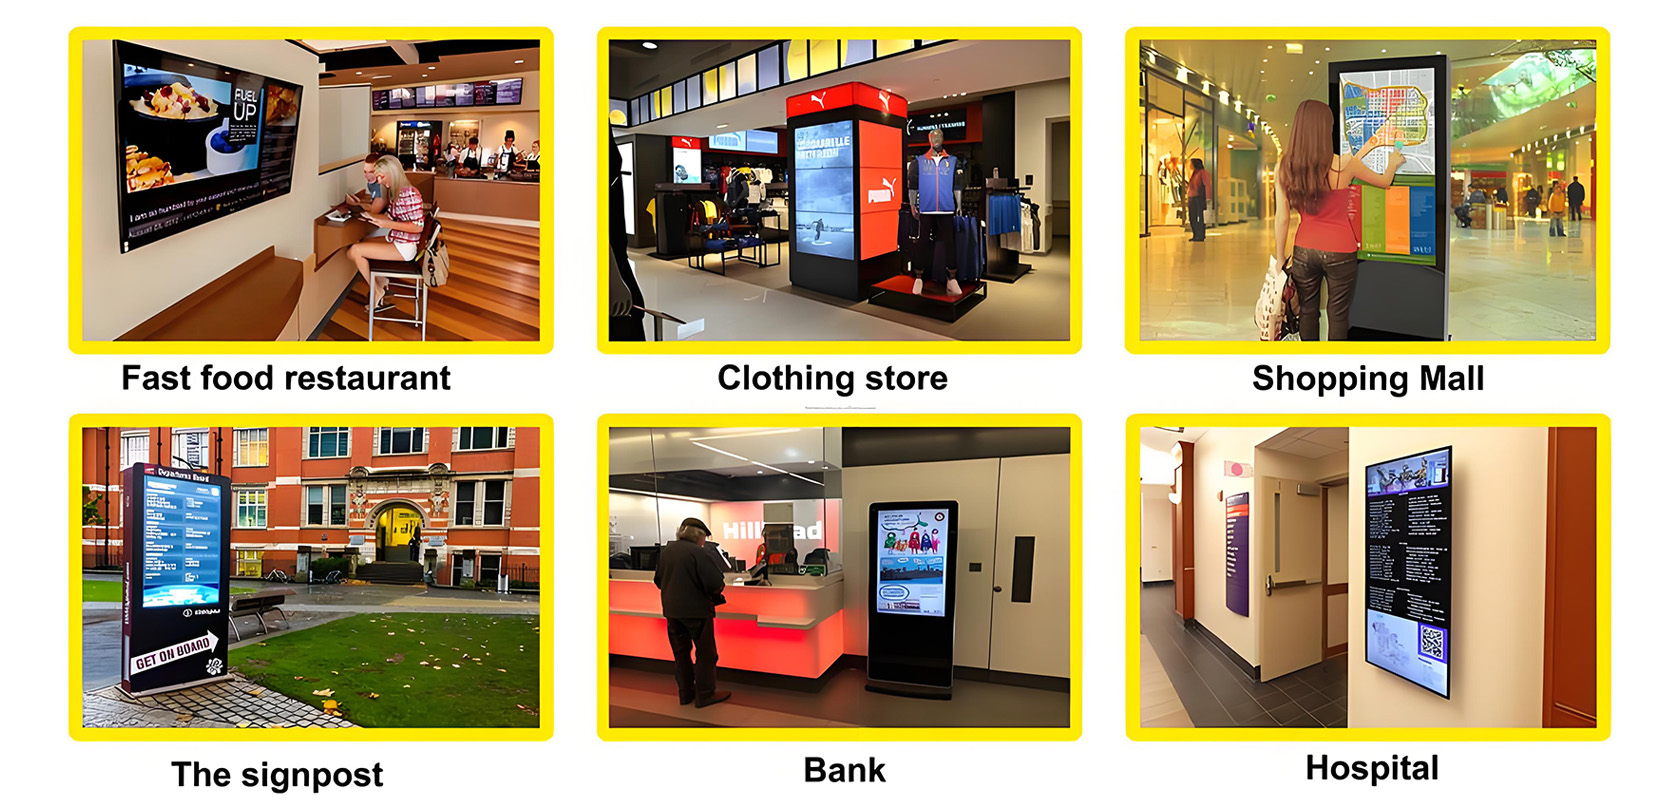
Application scenarios of digital signage